A question came up on Lead Adventures Forum re Unbasing figures to mount on a wooden deck or new base so I thought I’d show you what I do.
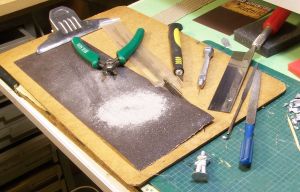
Tools of the trade
You’ll need some tools, most of what I use is shown above. I use a sheet of 80 grit wet and dry paper on a clipboard, A jewelers saw, a knife with a good point, some fine files, a pin vice with .7mm bit, some flower arranging wire and some superglue. I use Gorilla superglue, just seems to work best. I’ve been told it’s more flexible than most due to an additive, seems to be the best of the bunch anyway
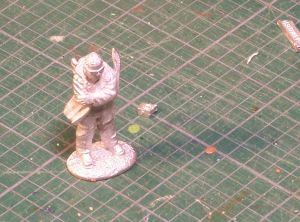
A victim
Need I say more, this whole process can seem a little daunting but as long as you go steady it’s pretty easy. I pinned the horse on the Hansom Carriage. Managed to drill through one of the legs cause they are so thin and I was working up from the hoof. Because you are going slow you realise just as you start to break through and in this case careful positioning of the pin into the hole hides the damage. The important thing is go steady, for this reason I don’t use my Dremel for this at all.
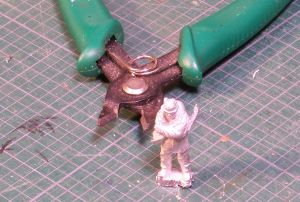
Clip away most of the base
Next clip away most of the base close to the feet, if you try to take the whole lot of in one go, especially between the feet you can distort the model, you also gain a feel for the metal.
Different companies use different alloys, some are easy to clip this one by Lead Adventures is a very tough metal to clip. It was obvious that clipping between the legs would be Very difficult and probably would damage the model. On a softer alloy I would have gone for clipping out the metal between the feet a little at a time this time I had to use a saw.
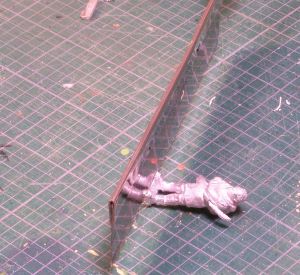
Saw away the majority of the rest
I start my saw cut at the front, this is the most visible part so you want it right, because you’ve clipped up to the feet the model lays flat and you can start your cut just below the feet.
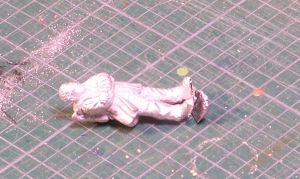
From the side
Once I have my reference cut across the front I then work from either side to saw away the material.
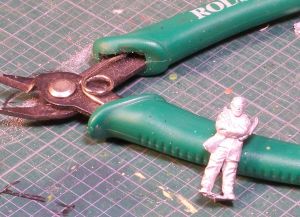
Leaving a thin base
You should be left with a thin base and the feet intact.

Clip this away close to the feet
Now clip away between the feet and close to the feet, as I said earlier if the metal had been softer I would have skipped the saw and gone straight here.
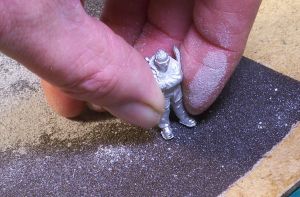
Sand away the rest
I now hold the miniature at the angle I want it to stand and move it across the sandpaper, the little bit of metal that’s excess around the feet will become thin and curl showing you are close to the original foot.
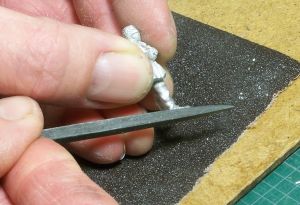
File for final clean up
Then use a fine file working from the sole of the foot up to finish the clean up.
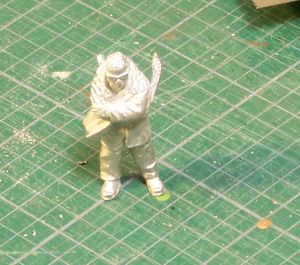
Check the figures stands the way you want
The figure should now stand as you want it on the base with both feet flat, or the portions of the feet you want touching flat.
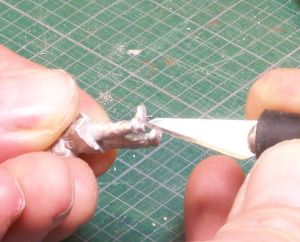
Mark the centre of the hole
Look at the figure to determine where the most metal is to insert the pin and use the point of the knife to make a little dimple, this will ensure you drill in the right spot and the drill doesn’t wander.
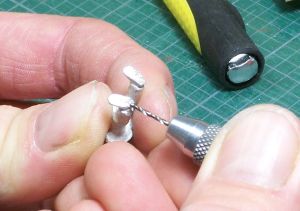
Drill out the hole
Drill out the holes, you don’t need to go that deep as long as the pin diameter matches the drill, I go a few millimeters. The depth is governed a lot by the figure.

On both feet
If you can drill both feet.
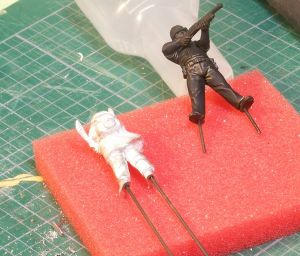
insert wire with superglue
I then insert the wire with a dot of superglue, don’t try to fit a tiny little made to measure bit of wire in, you’ll end up cursing as you search for it on the floor and in the end you probably glue yourself to the mini. I cut the wire back after it’s dry. I tend to leave a longer wire than I will eventually need as I paint the figure then put it on the base.
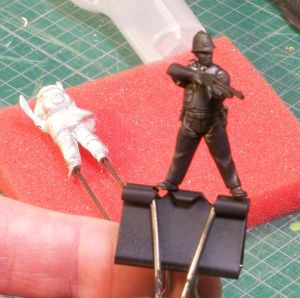
Use clip to hold figure while painting
I use a clip to hold the figure and have a magnetic bar on the bench so I can put the figure down with out the paint touching anything.
Hope this has been of some interest.
There are a number of other techniques I use on Figure bases, most of the models on the blog have the base disguised rather than removed so I’ll do another blog on these methods sometime.
